
App Store Screenshot Workflow for Indie Developers
Indie developers rarely lack ideas. They lack hours. Screenshot sets still need to ship with every meaningful release, and opening a sprawling Figma or Photoshop file for five marketing frames can eat an evening. A tighter App Store screenshot workflow keeps release day focused on the product, not the polish pipeline.
This post outlines a practical weekly process for indie iOS and macOS shippers: capture, compose with overlays, batch export for multiple iPhone sizes, and choose Store Mockup vs Rounded Image intentionally. For foundation steps, read How to Make App Store Screenshots on Mac. For color decisions, see Best App Store Screenshot Backgrounds and Gradients.
A fast weekly workflow for indie shippers
Treat screenshots like release notes: update them when the product story changes, not when boredom strikes. A lightweight cadence looks like this:
- Monday or after merge. Capture 4–8 clean screens that map to your current value props.
- Same day. Drop captures into Mockup Kit Store Mockup, lock a background system, write short headlines.
- Add one overlay max per frame when a badge clarifies a benefit.
- Export the sizes you need (6.9″, 6.7″, 6.5″, 6.3″, 6.1″ as required), then archive a dated folder.
- Upload in App Store Connect with the build that actually matches the UI.
Keep a simple checklist in your release notes template so screenshots are never a surprise task the night before review.
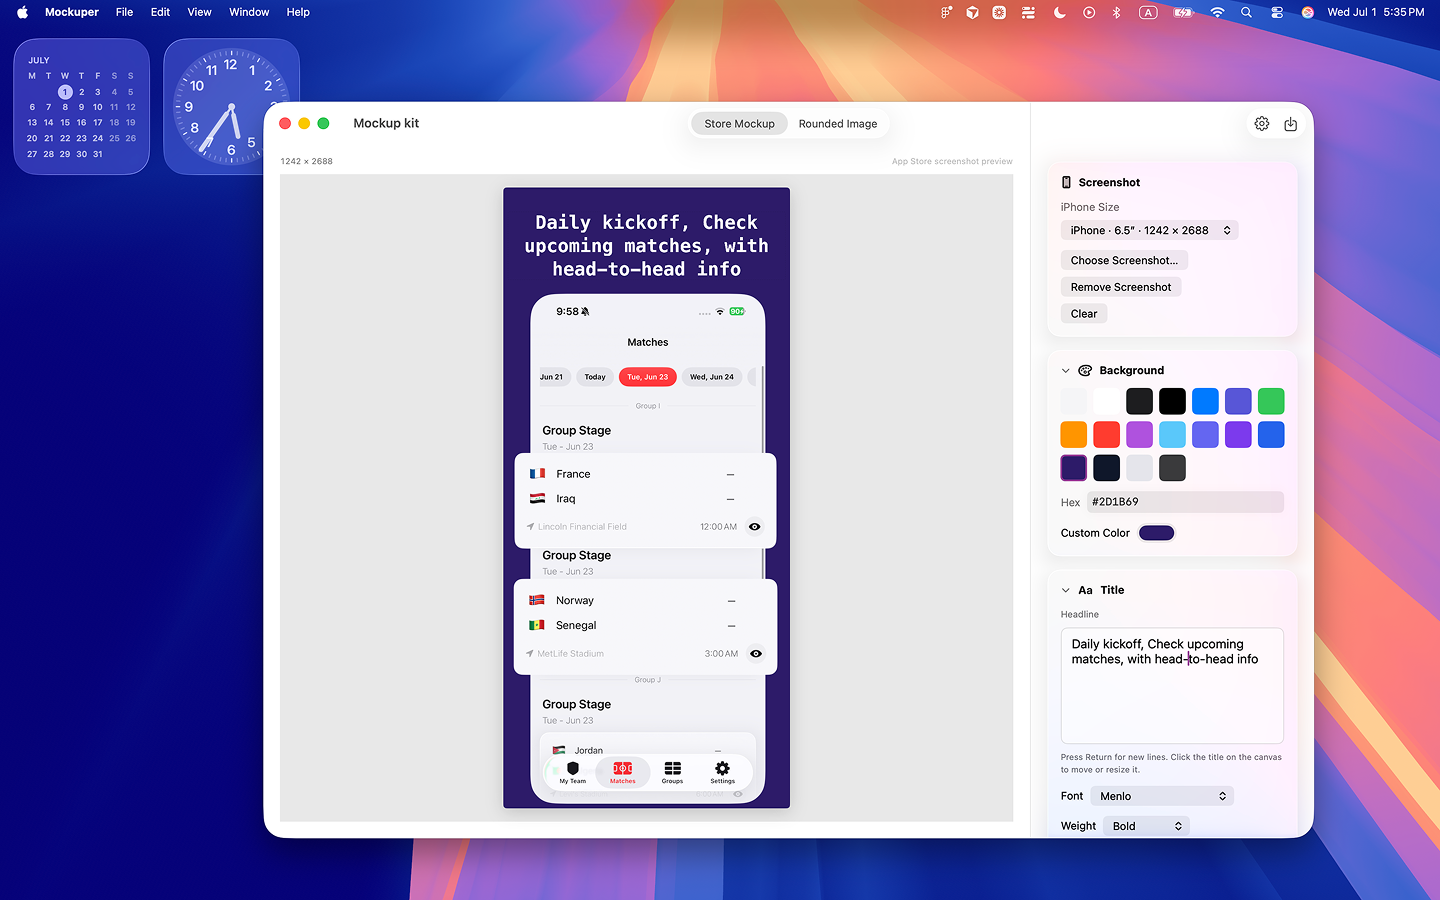
Using overlays for badges and callouts
Overlay layers help when the UI alone under-communicates. Drag badges or artwork onto the canvas and position them where the eye already lands — near the headline or a primary control — not randomly in corners.
- Use overlays for proof points: “Works Offline,” “No Account,” “Privacy First.”
- Keep typography on overlays short; the main headline still owns the message.
- Reuse the same badge style across the set so callouts feel branded, not sticker-bombed.
If every screenshot needs three overlays, the underlying captures may be weak. Fix the source screen first.
Batching exports for multiple iPhone sizes
Indie teams lose time re-exporting one size at a time without a checklist. After composition is approved:
- Export each required App Store Connect size in one sitting.
- Name files by size and story order (
01-overview-69.png,02-feature-67.png). - Spot-check the largest and smallest exports for type wrapping and title collisions.
Mockup Kit’s Store Mockup exports are aligned with App Store Connect sizes for 6.9″, 6.7″, 6.5″, 6.3″, and 6.1″. Confirm Apple’s current requirements for your listing before you upload.
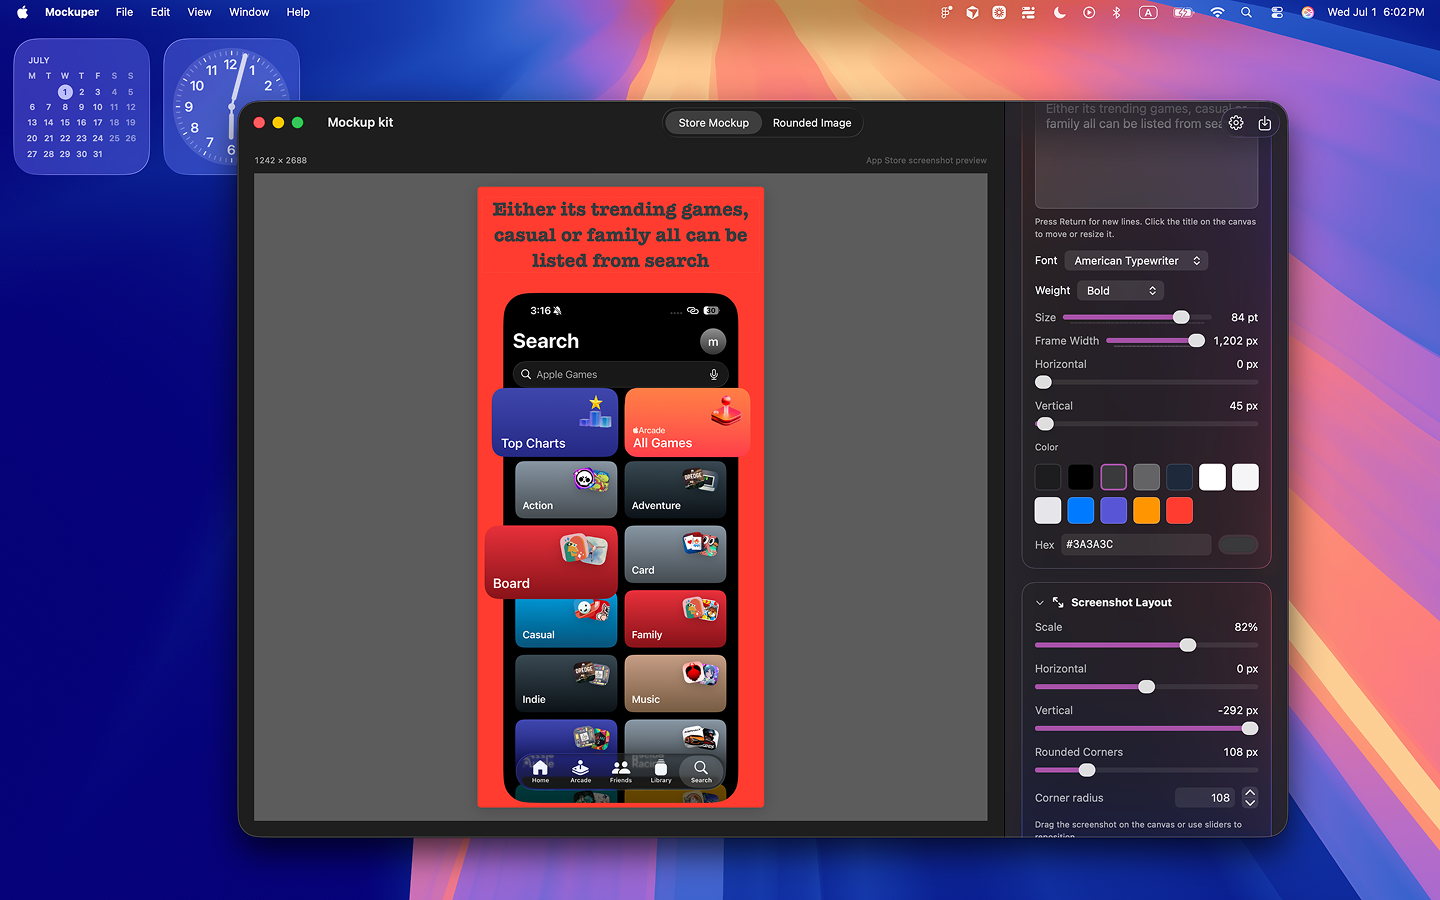
When to use Rounded Image vs Store Mockup
Store Mockup is the default for App Store marketing frames: screenshot + headline + background + optional overlays, exported at listing sizes. Use it whenever you need product-page screenshots.
Rounded Image is for polishing a single image with corner radius in pixels or percentage, then exporting PNG quickly. Use it when you need a rounded asset for a website, press kit, or social crop — not as a substitute for full Store Mockup compositions.
- Shipping App Store screenshots → Store Mockup.
- Need a clean rounded PNG from an existing image → Rounded Image.
- Need both → finish Store Mockup first, then round secondary assets if required.
Time-saving tips vs Figma or Photoshop
Figma and Photoshop remain excellent for brand systems, illustration, and complex marketing sites. For many indie screenshot updates, they are heavier than the job:
- Opening a large design file for five frames adds startup and decision cost.
- Rebuilding export presets for every iPhone size invites mistakes.
- A dedicated Mac workflow (import → compose → export) keeps context switching low.
Use design tools when you are inventing a new visual language. Use Mockup Kit when you already know the language and need shipping-speed updates. Features and pricing are summarized on the homepage — including a 3-day free trial, then $1.99/month or $9.99 lifetime.
Indie checklist before you hit Submit
- Headlines match the build you are submitting.
- Background system is consistent across the set.
- Overlays are sparse and readable.
- All required sizes exported and named clearly.
- No pure white/black empty canvases or neon experiments unless they are truly on-brand.
Ship screenshot updates without slowing your release
Mockup Kit keeps Store Mockup, overlays, Rounded Image, and App Store–aligned exports on your Mac. Try free for 3 days.