
How to Make App Store Screenshots on Mac
If you ship iOS apps, App Store screenshots are often the first product pitch a shopper sees. They sit above the fold on product pages, appear in search results, and do more conversion work than a long description. The good news: you do not need a full design studio to produce clean, on-spec marketing screenshots on a Mac.
This guide covers why screenshots matter, which sizes App Store Connect expects, a practical Mockup Kit workflow, and the mistakes that quietly tank listings. If you want backgrounds and gradients in more depth, see Best App Store Screenshot Backgrounds and Gradients. For a weekly indie shipping cadence, read App Store Screenshot Workflow for Indie Developers.
Why App Store screenshots matter for conversion
Most visitors decide whether to keep scrolling in a few seconds. Screenshots answer the silent questions: What does the app look like? What is it for? Why should I trust it?
- Clarity beats cleverness. A readable UI plus a short headline usually outperforms abstract art.
- Consistency builds trust. Matching colors, typography, and framing across a set feels intentional.
- Size compliance avoids rework. Wrong dimensions force last-minute crops and delayed submissions.
Treat screenshots as a product surface, not decoration. Plan the story sequence (problem → feature → outcome) the same way you plan onboarding.
Required screenshot sizes for App Store Connect
Apple’s requirements change over time, but iPhone marketing screenshots are commonly prepared for these display sizes. Mockup Kit’s Store Mockup export sizes are aligned with App Store Connect for:
- 6.9″
- 6.7″
- 6.5″
- 6.3″
- 6.1″
Export the sizes you actually need for the devices you support. If you only ship one primary set, start with the largest required size your listing needs and verify the others before upload. Always double-check App Store Connect’s current requirements for your app’s categories and device families before you submit.
Step-by-step: App Store screenshots on Mac with Mockup Kit
Mockup Kit is a native macOS app for composing App Store marketing screenshots. The core Store Mockup flow is intentionally short: import, background, headline, position, export.
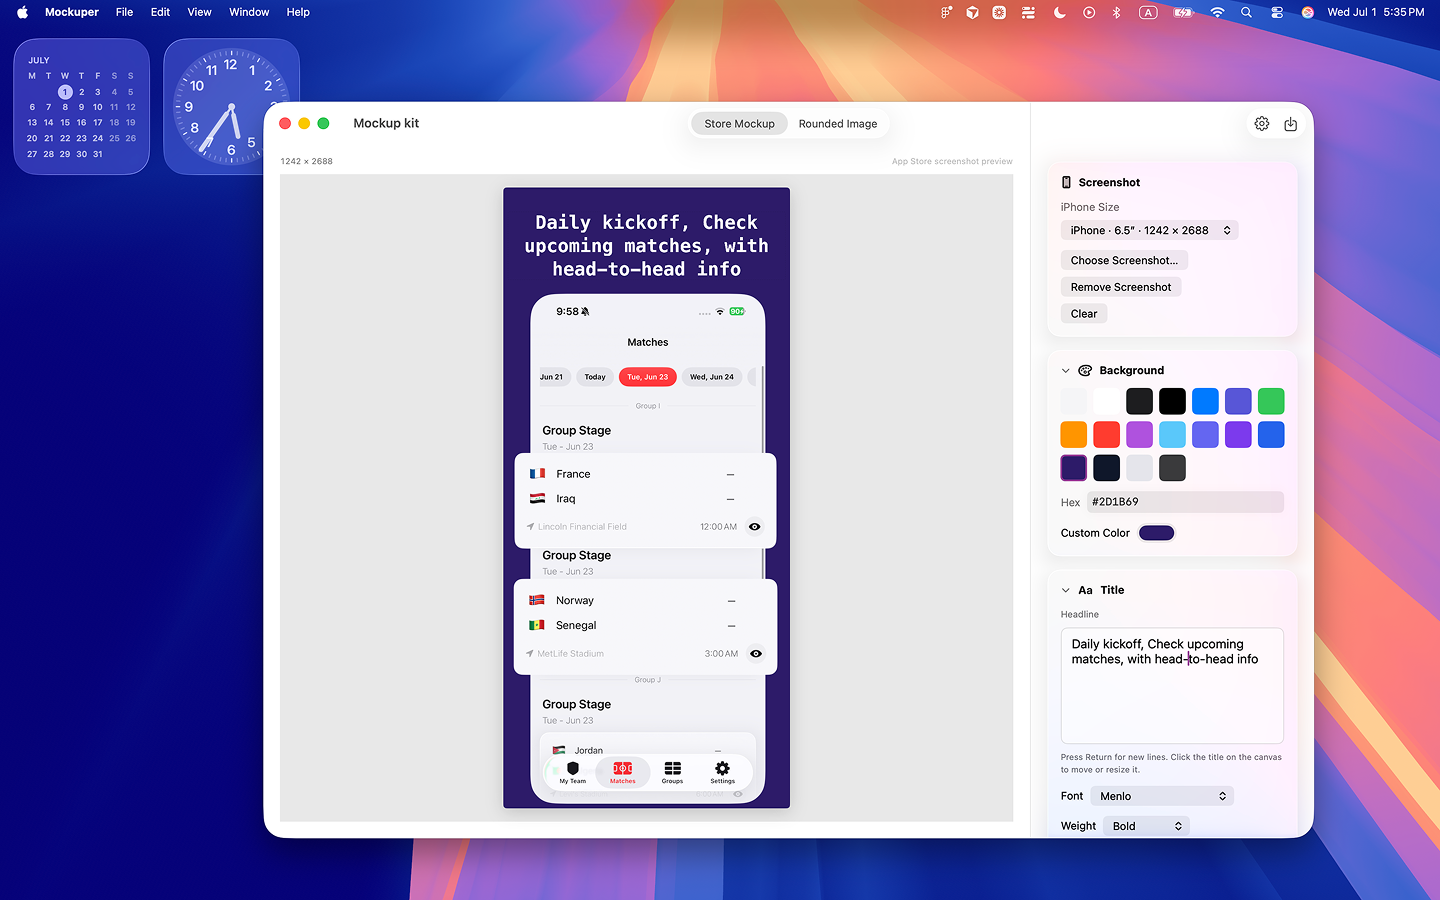
1. Import your iPhone screenshot
Capture the screen on device (or from Simulator), then bring that PNG/JPEG into Mockup Kit. Prefer a clean capture with no status-bar clutter you do not want to show. If the UI is dark, plan a lighter background later for contrast — and the reverse for light UI.
2. Choose a solid or gradient background
Use a solid color when you want calm focus, or a gradient when you want gentle depth. Stick to a few brand colors. Loud neon backgrounds fight the device UI and look dated next to App Store chrome. For detailed color guidance, see our backgrounds and gradients guide.
3. Add a short headline
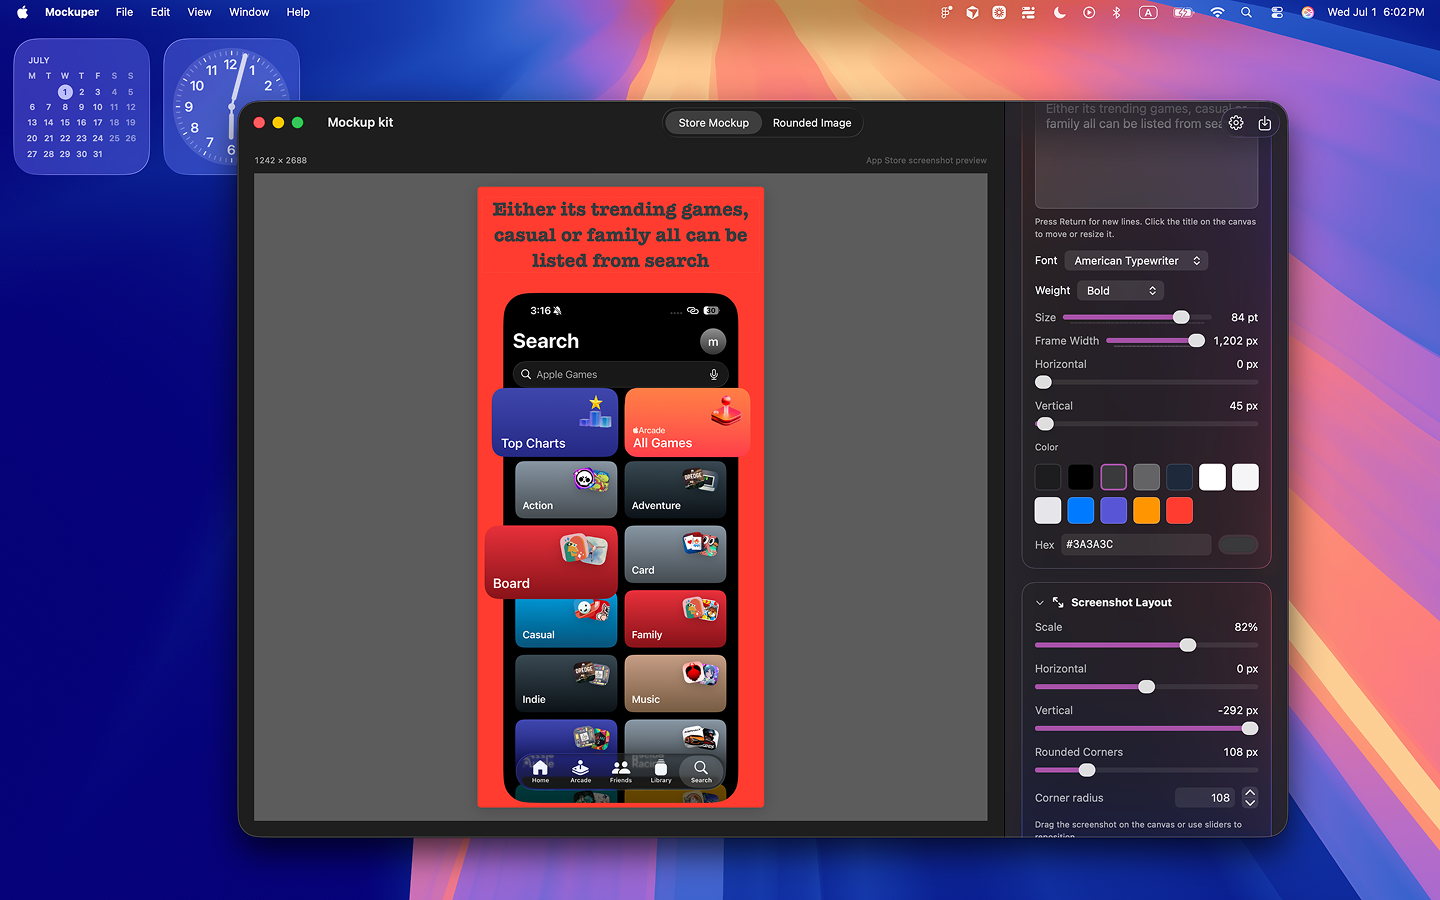
Write one benefit-focused line, then adjust title font, color, and size so it remains readable at thumbnail scale. Avoid long sentences. Aim for meaning in under about eight words when you can.
4. Position the screenshot, title, and overlays
Drag the screenshot and title into a balanced composition. Add overlay layers for badges or artwork when a callout helps (for example “Offline Mode” or “No Account Required”). Keep overlays sparse — one strong callout beats three competing stickers.
5. Export PNG or JPEG at the right canvas size
Export for each needed iPhone size. PNG is usually best when you need crisp edges; JPEG can help when file size matters. Upload in App Store Connect and preview how the set reads as a sequence.
Common mistakes to avoid
- Pure white or pure black backgrounds. They look unfinished and hide light or dark UI edges.
- Weak headlines. Feature names without benefits (“Dashboard”) underperform clear outcomes (“Track spending in seconds”).
- Wrong sizes. Stretching a single canvas for every device creates soft UI or rejected assets.
- Too much decoration. Heavy patterns and stacked badges make the product harder to understand.
- Inconsistent framing. Mixed margins and type sizes across screenshots make the set feel accidental.
FAQ
Do I need Figma or Photoshop to make App Store screenshots on Mac?
Not for straightforward marketing sets. If you already have clean iPhone captures, a focused tool like Mockup Kit can cover background, headline, overlays, and on-spec export without a full design file.
Which iPhone sizes should I export first?
Export the sizes App Store Connect requires for your listing. Mockup Kit supports 6.9″, 6.7″, 6.5″, 6.3″, and 6.1″. Confirm the current Connect checklist for your app before you finalize.
Should I use PNG or JPEG?
Use PNG when sharpness matters most. Use JPEG when you need smaller files and soft gradients dominate the frame. Keep the format consistent within a set when you can.
How many screenshots should I ship?
Ship enough to tell a clear story — often five to eight — without repeating the same idea. Lead with the strongest benefit screenshot.
Can I try Mockup Kit before paying?
Yes. Mockup Kit includes a 3-day free trial, then $1.99/month or $9.99 lifetime. See pricing on the homepage.
Ready to make App Store screenshots on Mac?
Compose, position, and export iPhone mockups without leaving your Mac. Free trial for 3 days.